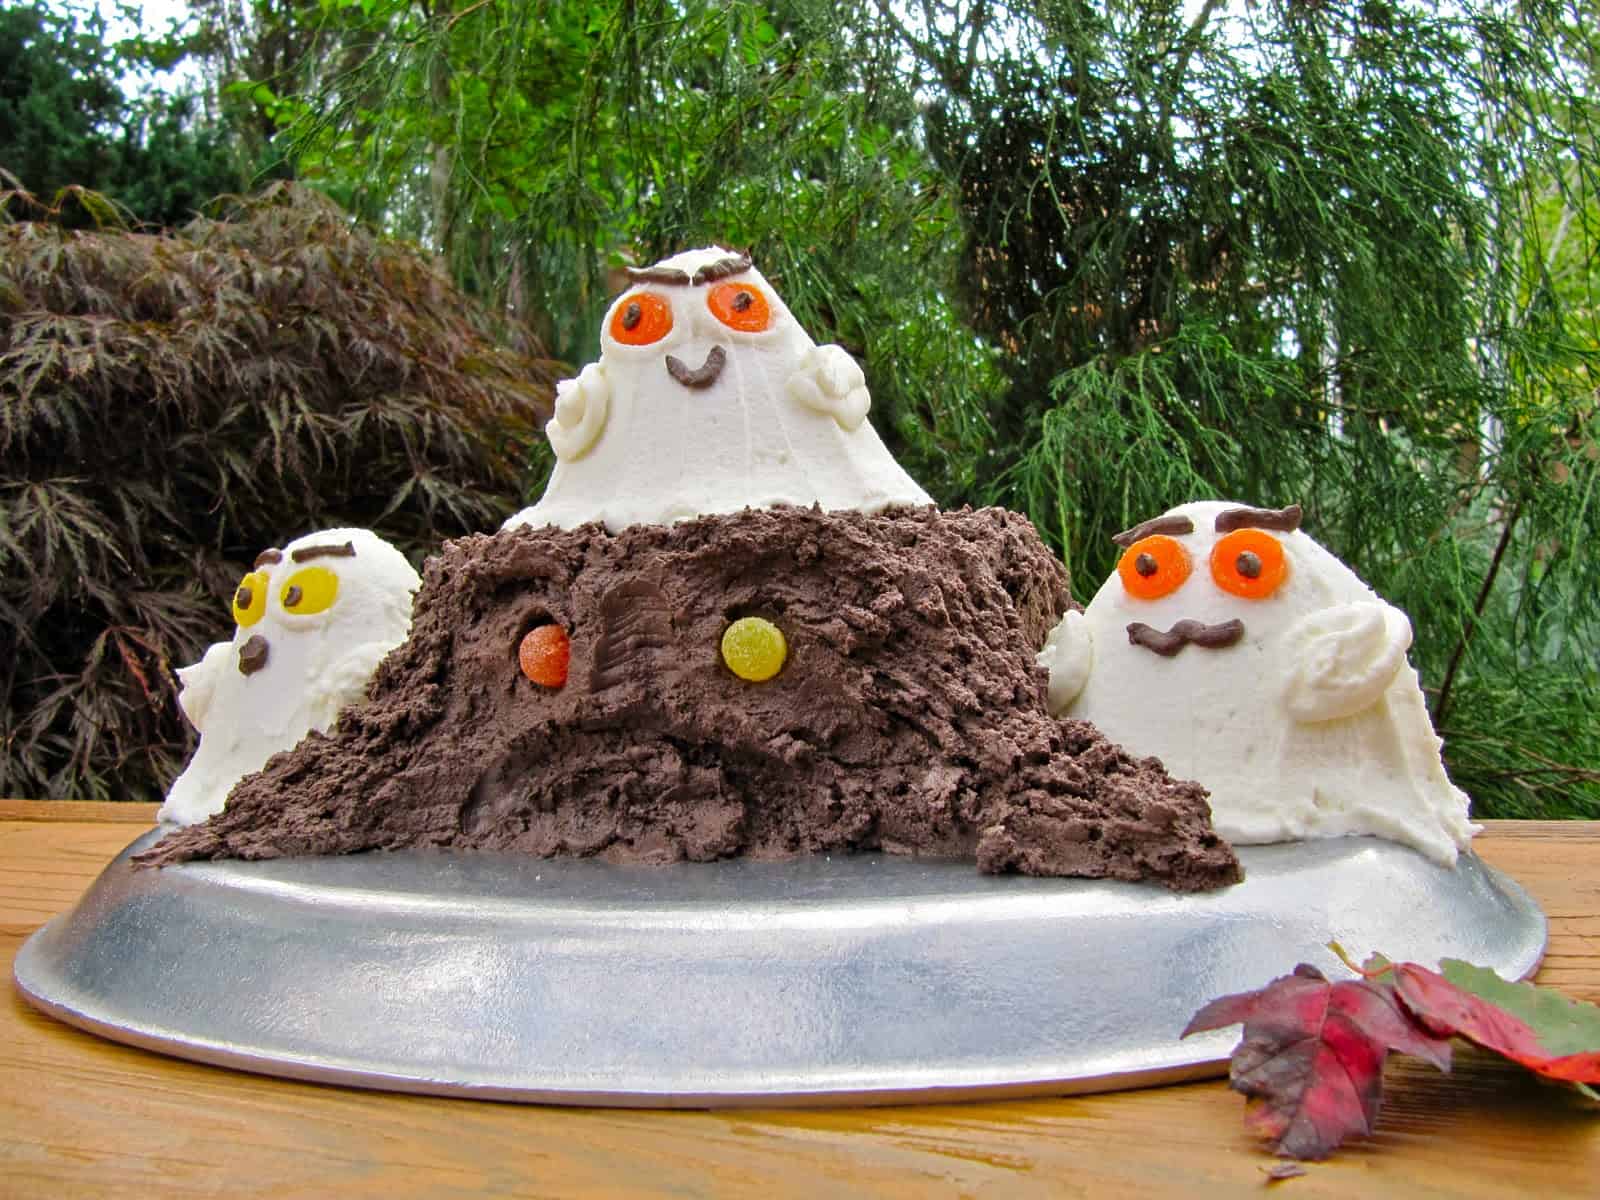
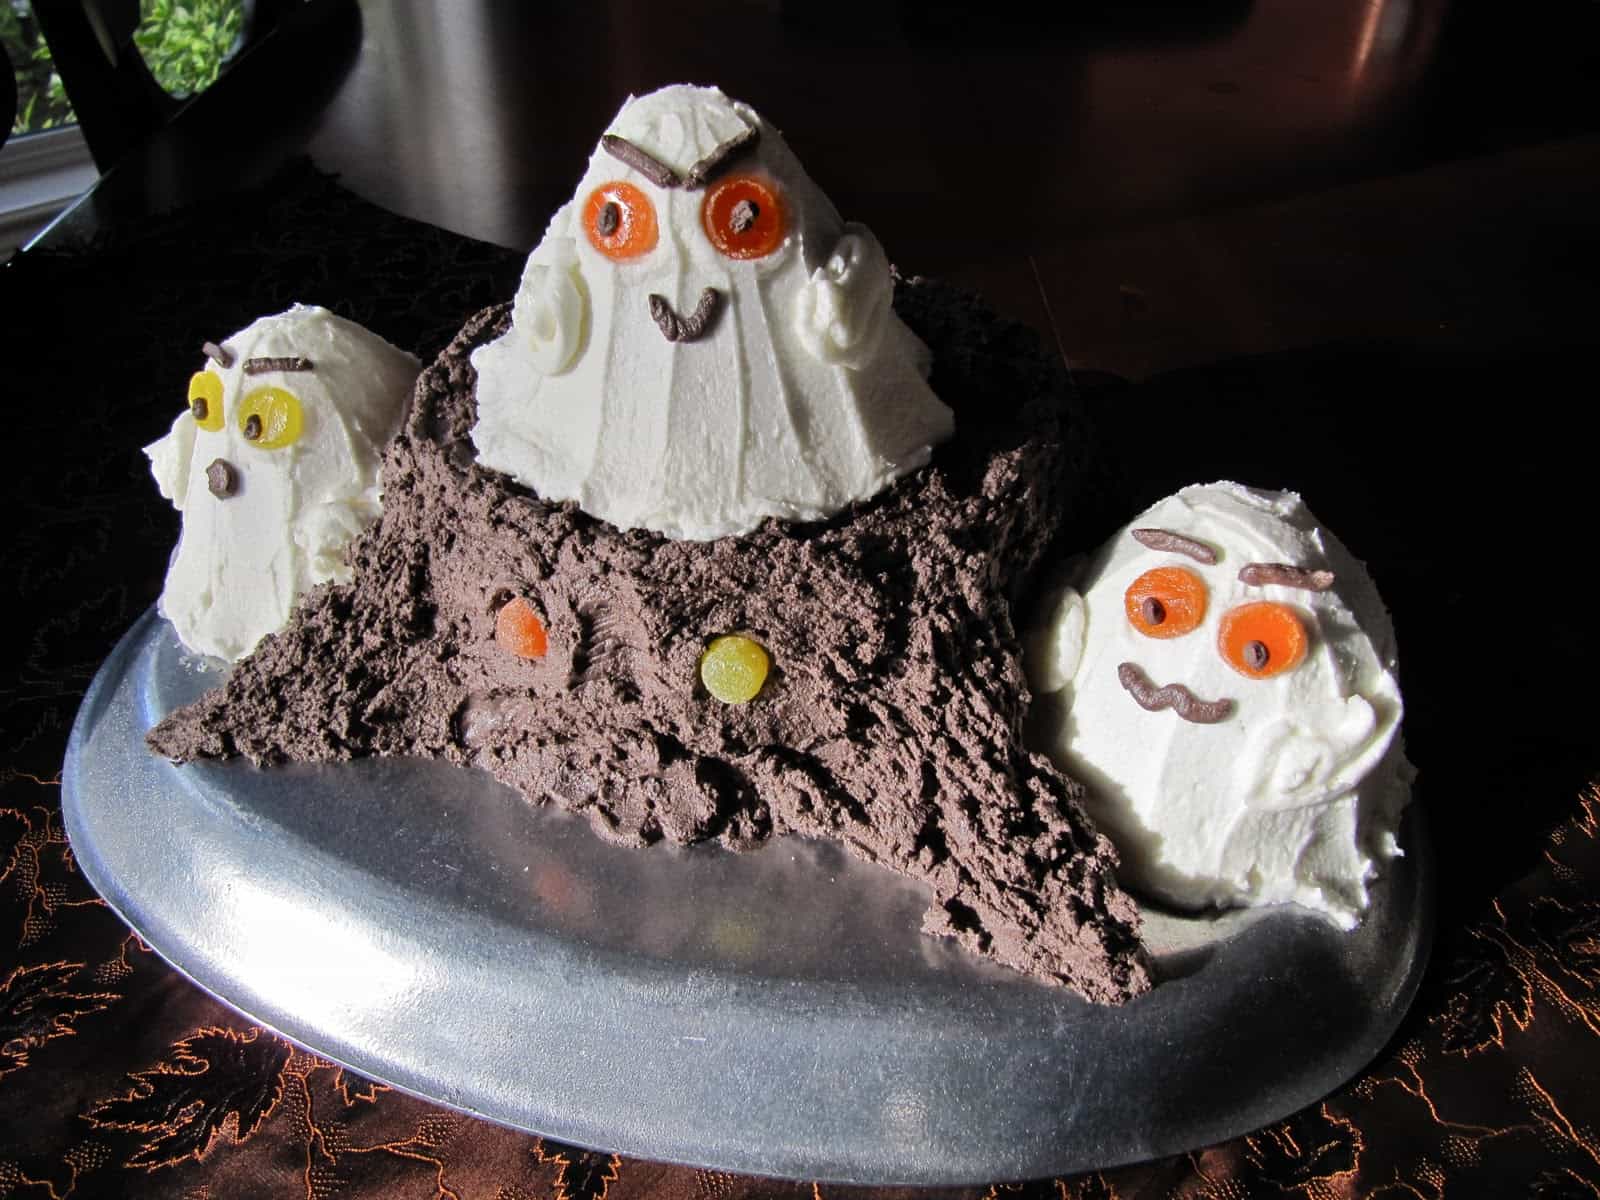
There is a certain magic to dressing a moist delicious cake in a costume of sweet creamy frosting. With a little extra effort this Haunted Halloween Forest Cake decorates the season in a way that is both fun and economical. Share a slice with friends or family and savor the sweetness of life’s simple blessings.
Decorating the Years
I love looking through my old Wilton Cake Decorating Yearbooks. They are full of cakes dressed for every occasion. They include everything from elaborately tiered wedding cakes to fun and simple cupcakes. There is even an occasional gingerbread house or sugar castle thrown in for good measure.
I have a collection of six or eight Wilton Yearbooks dating back to the 1970’s. Aunt Hen started buying them when I was a girl. We would take turns looking through them and marking our favorite pages. Together we made out orders for a decorating kit and, now and then, a shaped baking pan or two. We practiced using decorator tips and making sugar molds.
Though we read through the how-to sections in the Wilton Yearbooks and practiced, neither of us ever managed to make an icing rose as beautiful as the ones we remembered my mother making. She would gracefully twirl a flower nail under a #104 decorator tip until the icing looked just like a rose in full bloom. Then my mother would carefully transfer her lovely blossom to a cake top arrangement. Aunt Hen and I had a good time trying but our talents drew us in other directions.
Cakes for the Whole Family
Any novelty cake would make my father’s eyes twinkle with delight. He understood the effort, the fun and the magic on display no matter how unrefined the result. That twinkle reminded me of the times I had seen him help my mother in the kitchen. He smiled as she put the finishing touches on a Humpty Dumpty birthday cake. When she tiled a gingerbread house roof with Necco Wafers he was right there with her.
Decorating cakes was something that brought the generations together in my family. We planned, ordered, baked and decorated as a team. When we were finished, the adults smiled over the results with as much enthusiasm as the children.
Sweet Expressions
I still enjoy decorating cakes, even though the older generation is no longer with us and my children are now grown. There is a certain magic to dressing a moist delicious cake in a costume of sweet creamy frosting. With just a few items from my kitchen pantry and an idea gleaned from a web page or magazine, I can express a creative inspiration in a way that is both fun and economical.
All finished, I take a few photos. Then I share a slice, savoring the sweetness of life’s simple blessings: fond memories, inspiration, wholesome ingredients, friends and family. In the end I am left with a clean plate and another rich experience ready to inspire and inform the next kitchen adventure.
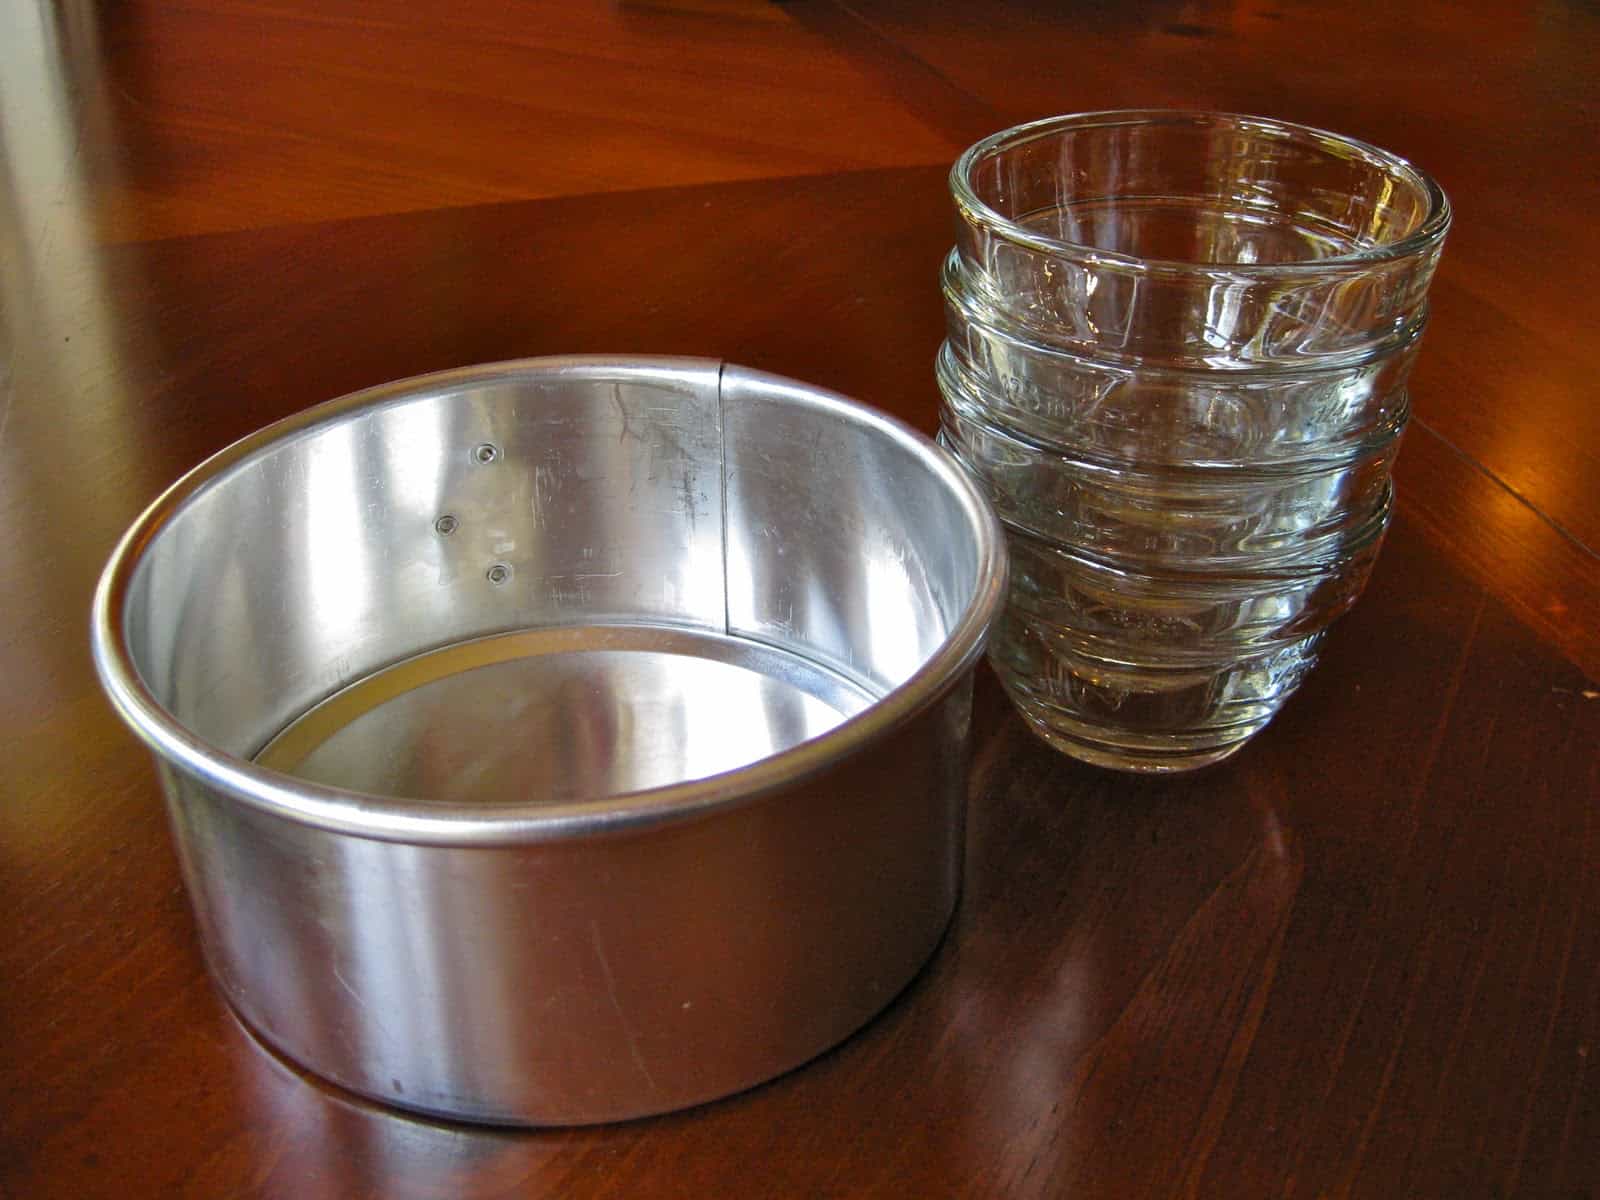
So here’s another try at a Ghost Cake. This one is a bit more involved than my earlier version, though not too complicated. Again, this cake requires no specialty pans or decorator tips. If you don’t have a 6-inch springform pan try using 8-inch layer cake pans or other oven safe vessels from your kitchen. Improvise a little. Mostly have fun. It’s the journey you will remember every bit as much as the outcome. Make it a good one!
Making a Haunted Halloween Forest Cake
To make a Haunted Halloween Forest Cake you will need:
- Decadent Fudge Cake – (Recipe and baking directions below)
- Buttercream Frosting (recipe below) – divided into Vanilla and Chocolate portions
- 8 small gumdrops
- 2 quart-sized Ziploc freezer bags
Assembly
Tree Stump
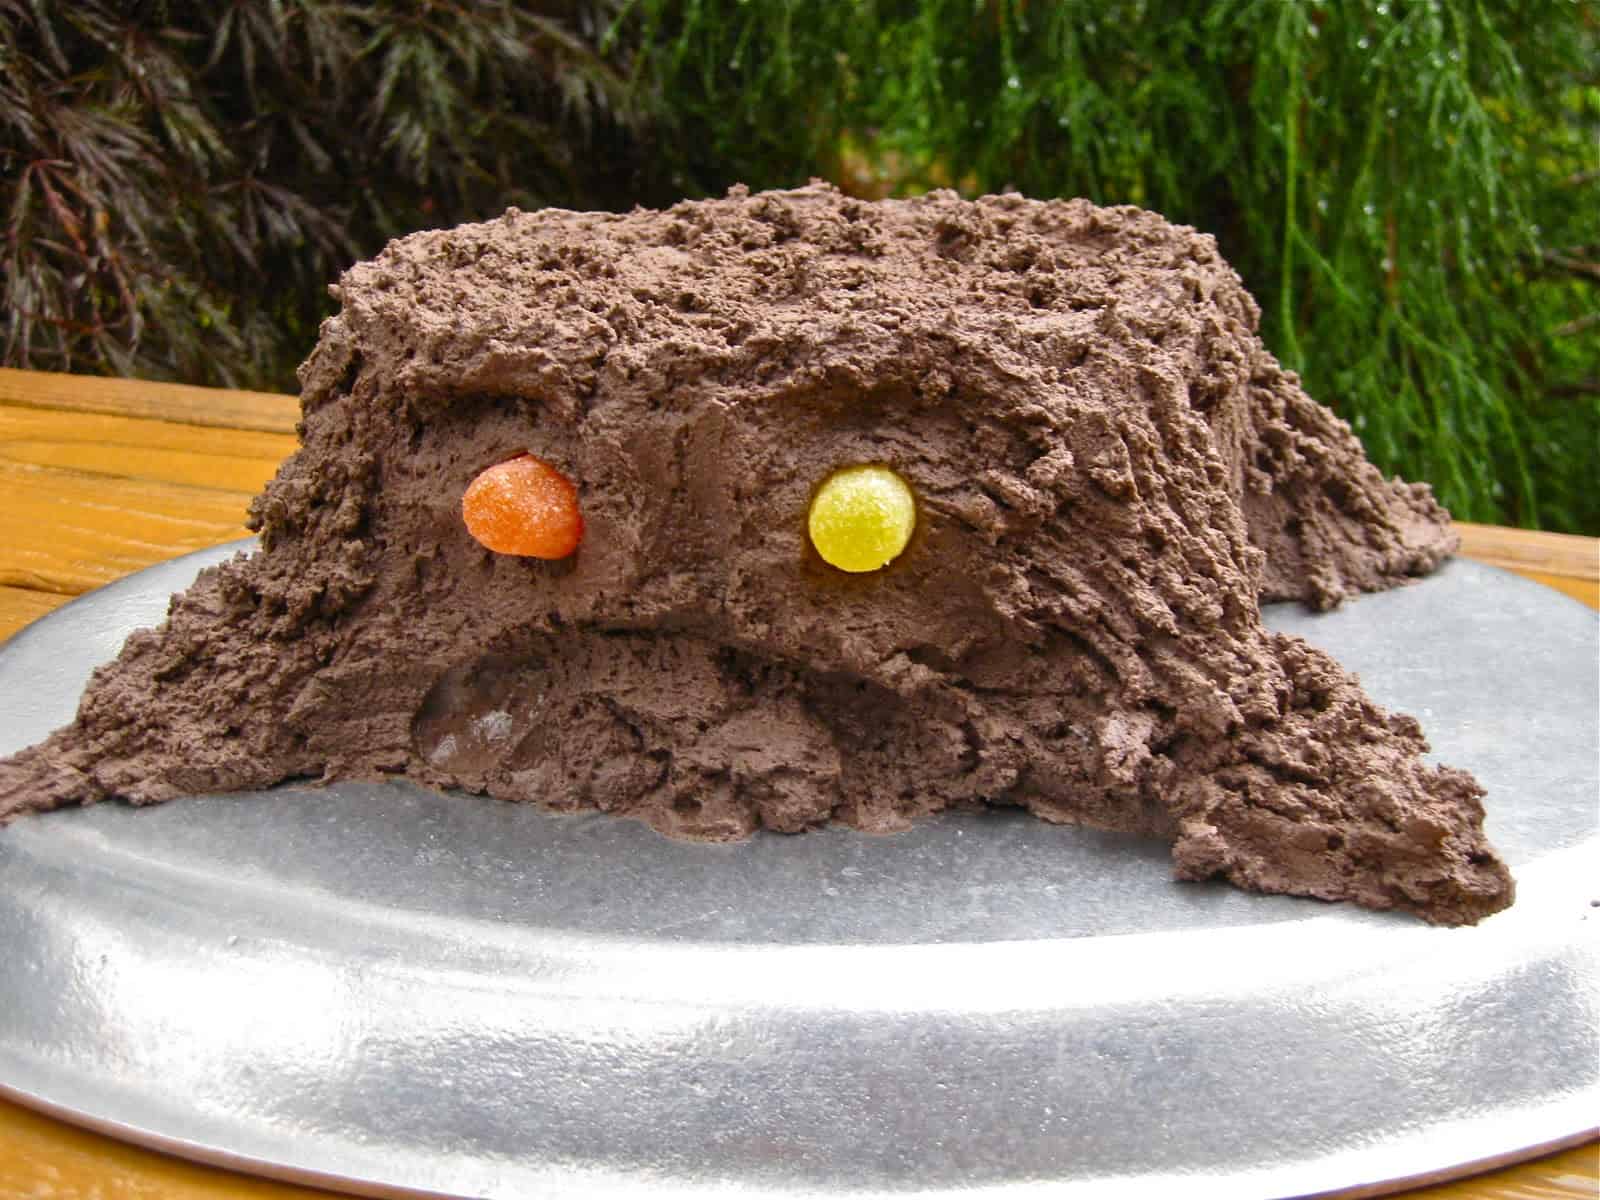
Place the 6-inch cake near the center back of a serving platter or make a cake board to fit your cake (15″ x 11″ works for the size pans I used.)
Using the Chocolate Buttercream Icing, frost the round layer, extending icing out in four directions and mounding it to resemble tree roots. When you are satisfied with the general shape you have achieved, drag a fork along the top of the frosting. Drag it in a circular pattern on top of the cake, and from top to bottom on the sides and along the roots. This will give the surface of the icing a bark-like appearance.
With the tip of a spoon (or a clean fingertip) make indentations for eyes and a long frowning mouth on the front side of the tree stump, mounding the icing a little in between the eyes to hint at a nose. Snip 2 gumdrops in half cross-wise and position the tops in the eye indentations. The tree stump is complete.
Ghosts
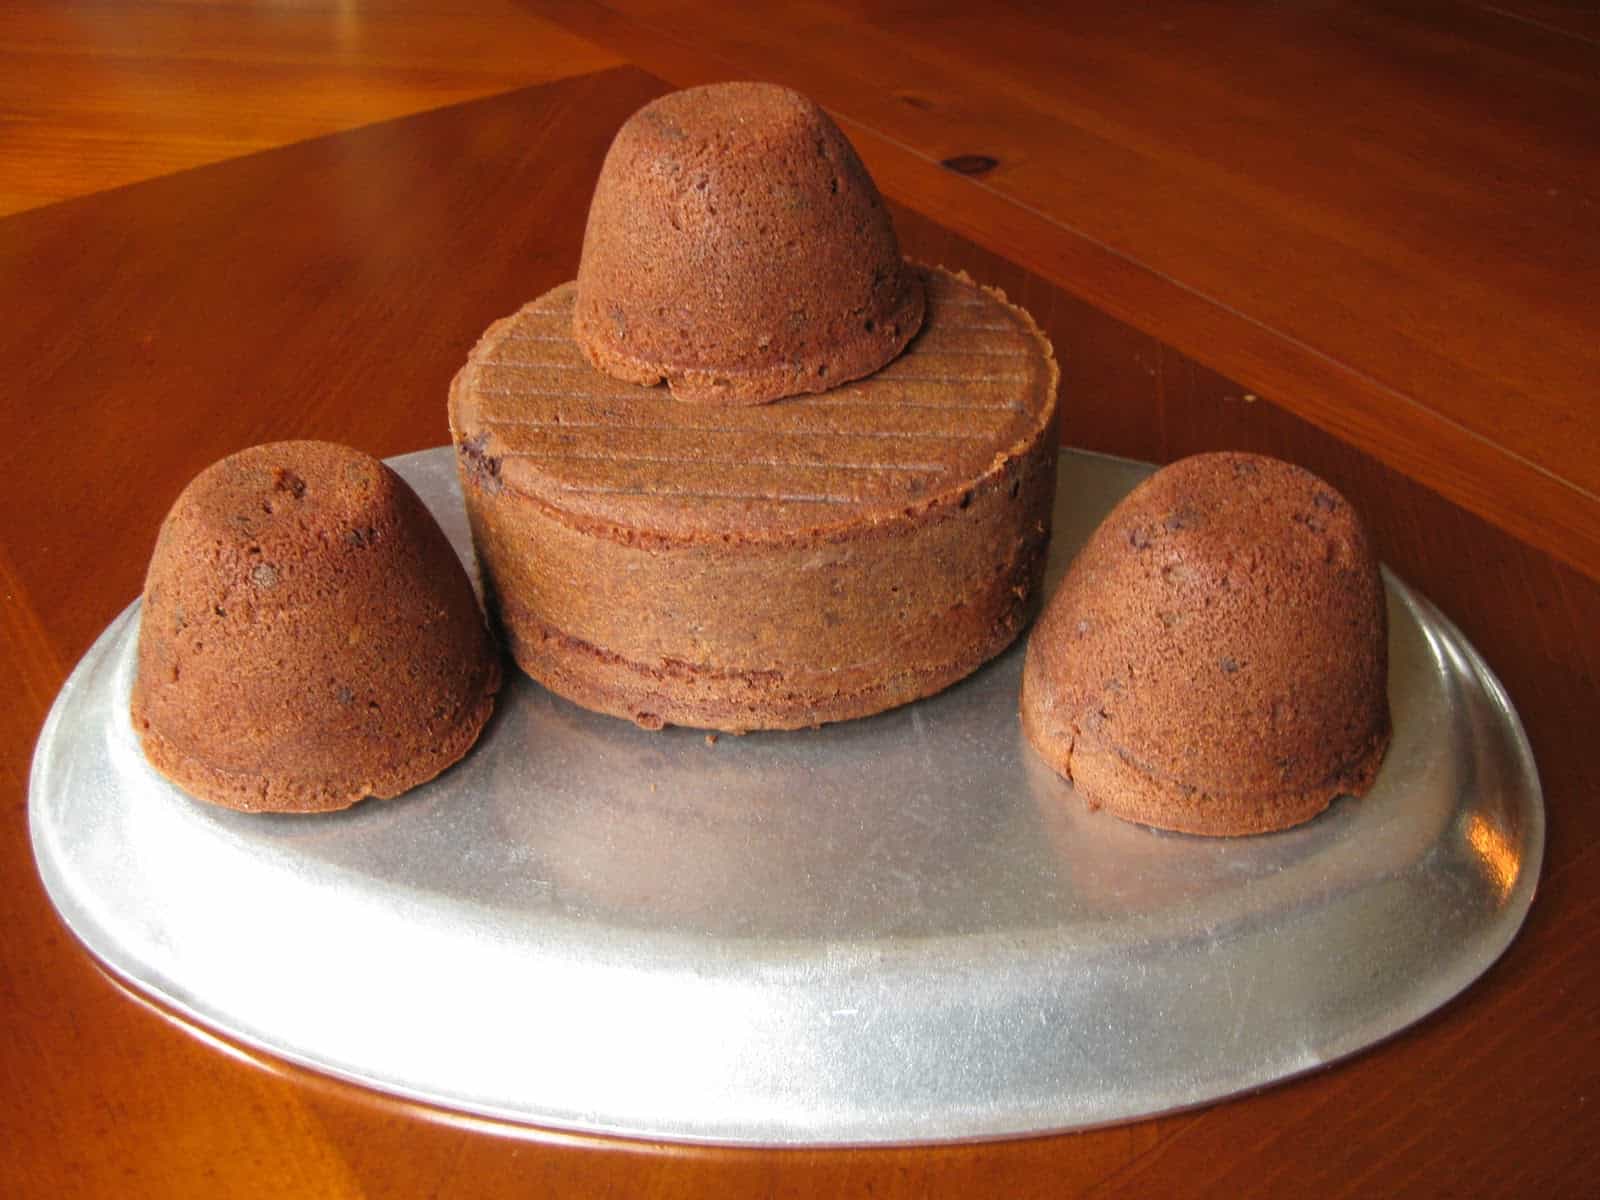
Invert each of the small cakes baked in the 1 cup prep bowls on the back of a small flat saucer or pan. (I put mine of the back of mini pizza pans).
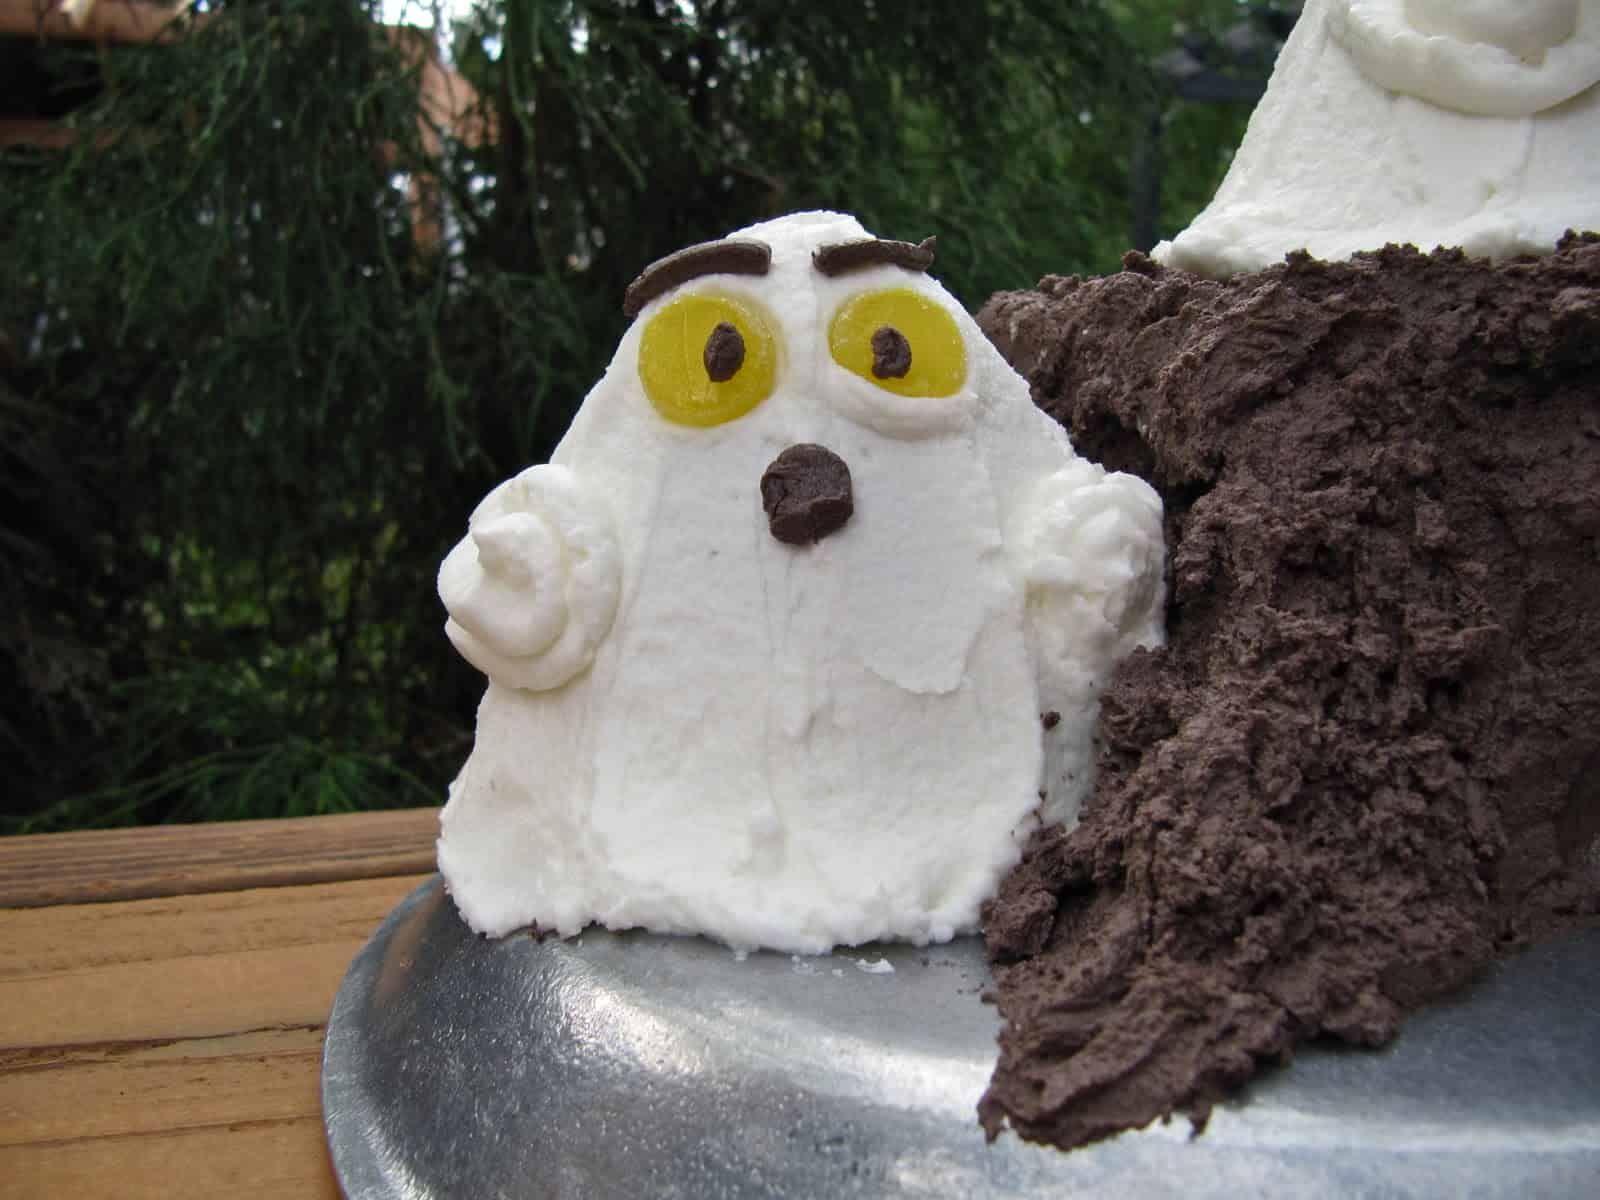
These small Ghost Cakes are decorated just like the Sweet Ghost Cake I posted about earlier, but in miniature. First, cover the sides and top of the cakes with the white Buttercream Frosting, being careful not to get crumbs from the cake into the frosting. Start at the bottom and work upward, smoothing as you go. Leave enough frosting around the bottom to give the illusion of flowing and puddling in a ghostly way.
Once the cake is covered with frosting, smooth it again with a large flat-bladed butter knife or offset decorating knife. To achieve an extra-smooth look, I sometimes dip the knife in very hot water and wipe it off with a paper towel before running it over the frosting. I re-dip after every pass, working from bottom to top.
Repeat for each of the three small ghost cakes.
Finishing the Ghosts
Fill a quart sized Ziplock freezer bag with a little of the White Buttercream. Zip it shut removing as much air as possible and snip ¾-inch from a lower corner of the bag. Using the freezer bag as a piping bag, slowly pipe an arm in a semi-spiral shape on either side of each ghost’s torso.
With kitchen scissors or a sharp knife, snip the bottom ¼-inch from the gumdrops. Position these, sticky side out, on the ghost’s faces for eyes.
Fill another quart sized Ziplock freezer bag with a little of the Chocolate Buttercream. Zip it shut removing as much air as possible. Snip ¾-inch from a lower corner of the bag. Using it as a piping bag, dot pupils onto the gumdrop eyes. Then pipe eyebrows and mouths.
Completing the Haunted Halloween Forest Cake
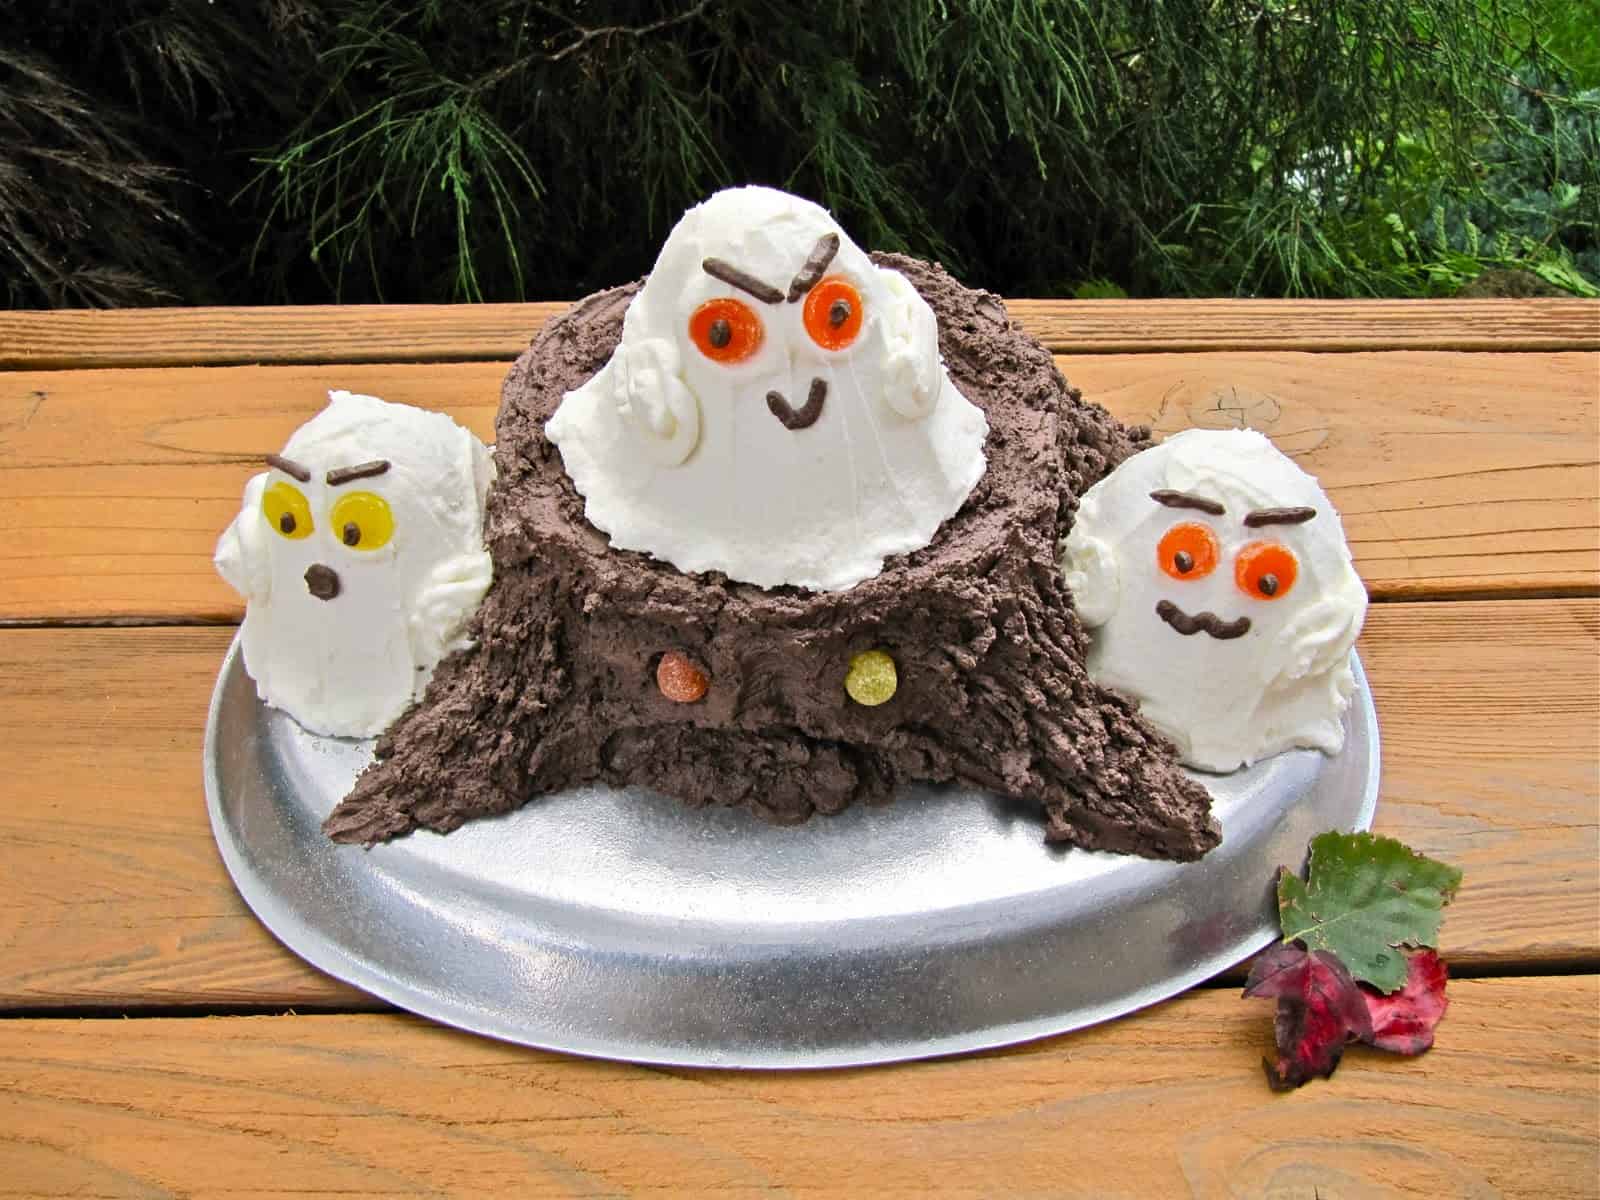
Using a decorating knife or a small spatula, carefully scoop underneath the small ghost cakes and gently lift them into position on the Tree Stump Cake. Place one on the top and two or more around the base of the stump. Touch up the icing as needed using the remaining White Buttercream and your decorating knife.
Serve and enjoy!!
Decadent Fudge Cake with Buttercream Frosting
Course: DessertCuisine: AmericanDifficulty: Medium12
servings1
hour30
minutes1
hour30
minutes3
hoursDress a moist and delicious Decadent Fudge Cake in a costume of sweet creamy frosting to create a Haunted Halloween Forest Cake. Or skip the frosting and present as a Bundt Cake drizzled with white chocolate.
Ingredients
- Decadent Fudge Cake
1 cup butter or margarine, softened
1 1/2 cups sugar
4 eggs
1/2 teaspoon baking soda
1 cup buttermilk
2 1/2 cups all-purpose flour
1 cups semisweet chocolate mini-morsels
2 (4-oz) bars sweet baking chocolate, melted and cooled
1/3 cup chocolate syrup
2 teaspoons vanilla extract
- Buttercream Frosting (Vanilla and Chocolate)
1 cup butter (at room temperature)
1 cup shortening
2 lbs powdered sugar
2 teaspoons vanilla (preferable clear)
2-4 Tablespoons Milk
1/2 cup cocoa powder
- Decorations
8 small gumdrops
Directions
- Decadent Fudge Cake
- Preheat oven to 300F.
- Grease and lightly flour (or spray with non-stick cooking spray) a 6-inch springform pan and 4 1-cup glass prep bowls or custard cups, as well as additional prep bowls or cupcake tins. Set aside.
- In a large mixing bowl, cream the butter until soft and smooth. Gradually add the sugar, beating well at medium speed of an electric mixer until fully incorporated. Add the eggs, one at a time, beating well after each addition.
- Stir the baking soda into the buttermilk until dissolved.
- Add the flour to the creamed mixture in four portions, alternating with the buttermilk, beginning and ending with the flour.
- Add the mini-morsels, melted chocolate, chocolate syrup, and vanilla, stirring just until blended. (Do not overbeat.)
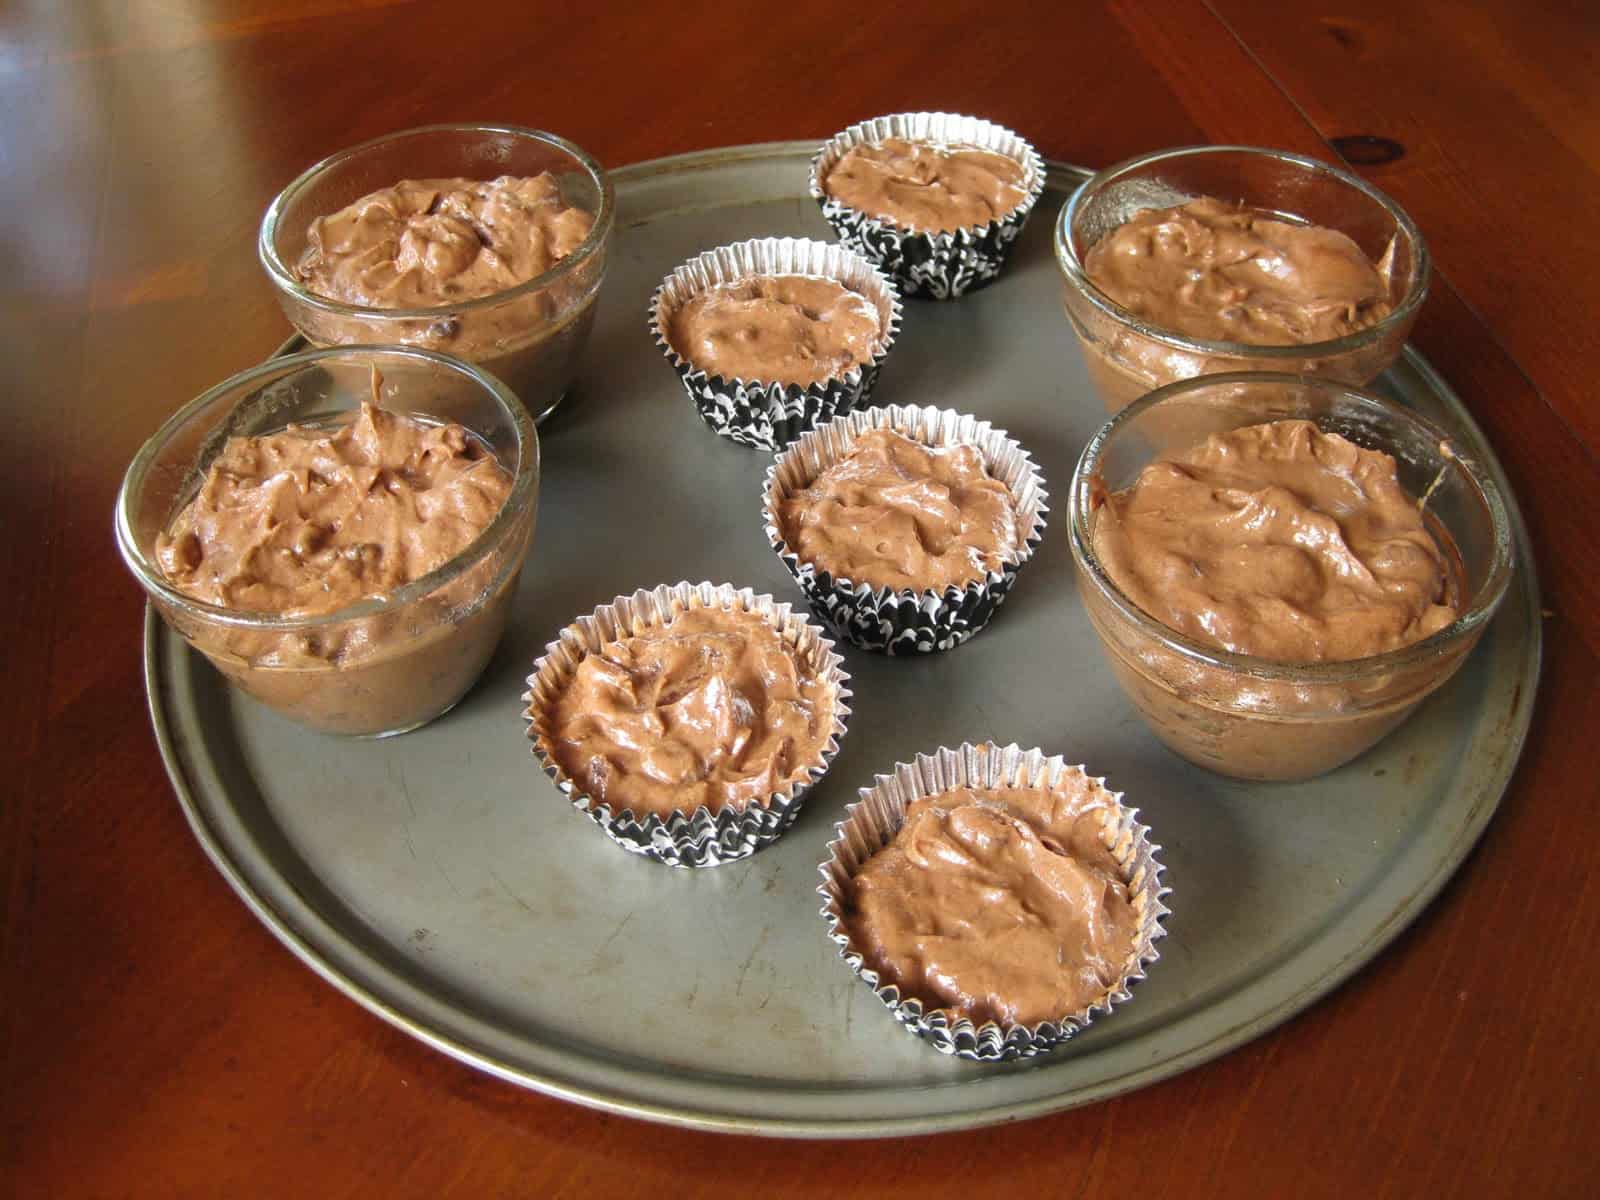
- Spoon batter into prepared (greased and floured) cake pans as follows:
For one 10-inch Bundt Cake – Spoon batter into one 10-inch Bundt pan.
For the Haunted Halloween Forest Cake –
3 cups batter in 6 inch springform pan.
¾ cup batter in 4 1-cup prep bowls or custard cups.
Enough batter was left over for 4-6 cupcakes.
(If you are using different pans fill about 3/4 full and watch baking time carefully.) - Bake at 300 degrees until done. (When done the cake will spring back when touched lightly near the center and a toothpick inserted near the center will come out clean.)
In my oven a Bundt cake takes about 1 hour and 35 minutes.
For the Haunted Halloween Forest Cake:
– cupcakes took 30 minutes
– small prep bowl cakes took 45 minutes
– 6-in springform pan took approx. 90 minutes. - When done remove cakes from the oven.
For Bundt Cake – immediately invert cake onto serving platter and allow to cool completely.
For Haunted Halloween Forest Cake – remove cakes to wire rack to cool. After cooling approximately 15 minutes, carefully invert the cakes baked in the 1 cup prep bowls onto the wire rack and remove the bowls. Remove the sides of the springform pan and invert the cake onto the wire rack removing the bottom of the pan. Allow the cakes to cool completely. - For Bundt Cake:
Combine 4 ounces of chopped white chocolate and 2 Tablespoons of shortening in the top of a double boiler. Over low heat, stir until the mixture is melted and smooth. Remove from heat and drizzle white chocolate mixture over cooled bundt cake, allowing it to cover the top and run down the sides.
Melt 1/2 cup chocolate chips in the microwave or in a small bowl over a pan of hot water, stirring until the chocolate is melted and smooth. Drizzle over the white chocolate.
For Haunted Halloween Forest Cake:
While cakes are cooling, prepare Buttercream Frosting (recipe below). - Buttercream Frosting (Vanilla and Chocolate)
- In a large mixing bowl use an electric mixer to combine the butter, shortening and vanilla until smooth.
- Gradually add the powdered sugar until fully combined.
- Add the milk, one Tablespoon at a time, until a good spreading consistency is achieved.
- Continue beating until light and fluffy, approximately five minutes.
- After beating, set aside 2/3 of the white frosting and cover with a damp towel.
- Beat the cocoa powder into the remaining 1/3 of the frosting until thoroughly combined adding another Tablespoon or two of milk if needed to achieve a spreading consistency that is slightly on the dry side.
Notes
- Recipe Sources: Decadent Fudge Cake is from a card in the Southern Living Five Star Recipe Collection. This Buttercream Frosting is slightly adapted from a recipe at Wilton.com.






can i tell you my favorite thing about your ghosts? it's their eyebrows. 🙂
Very, very cute, Lisa. It's so much fun to decorate for Halloween.
Lisa, I enjoyed your stories about you and your family's cake decorating time together. The story was very touching. You are very cleaver with your cakes, idea's and are able to decorate with much talent.
The next time I have friends over for dinner, I will have you bring the dessert.
(That is a cute cake!) 🙂
How adorable this cake is…I only wish I had half of your baking and decorating talent. You do such fabulous work.
Super Cute haunted forest!
I used to work in a bakery and twirl those roses all day long. HOWEVER, I have have not done one in so long. I may have lost it.