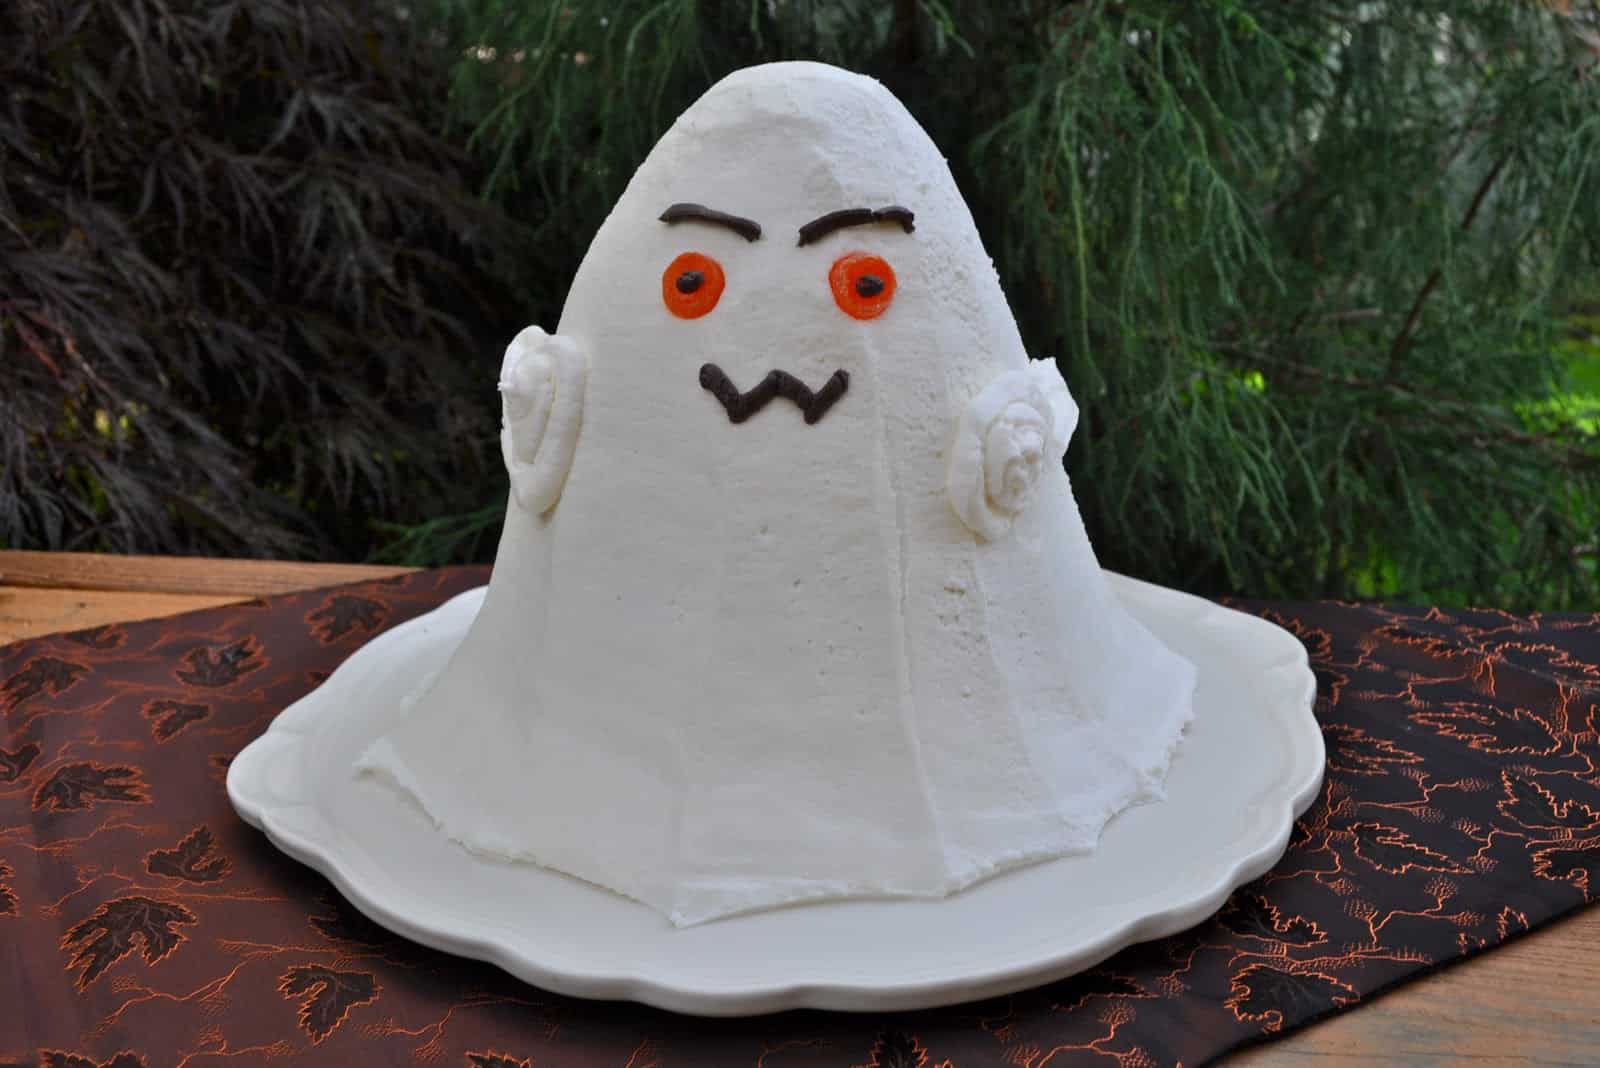
A Sweet Ghost Cake makes a cute edible decoration for Halloween. Use a Basic Box Mix Pound Cake recipe for the batter and create the ghostly shape by baking it in mixing bowls you may already have in your kitchen. Then decorate with Buttercream Frosting for a spooky finish.
Edible Halloween Decorations
BOO! Are you scared?
It’s that time of year again. The days grow shorter and we are faced with an inescapable fact: suddenly, it is no longer months, but simply weeks until the holidays are here. The first sign that it’s that time of year again is the outbreak of Halloween treats and decor at every shopping venue. Now that they are beginning to look picked over I am finally getting the message.
Though I have seen lots of cute Halloween decorations out there, aside from my bright-eyed “door spider,” I prefer for my decorations to be edible. At this time of year, before the seasonal rush gets the better of me, I can enjoy spending a little extra time in the kitchen shaping cookies, carving radish eyeballs or decorating a Halloween cake.
This year I decided to recreate two cakes first inspired by the 20th Anniversary Issue of Wilton’s Cake Decorating Yearbook. I made these back in the day, when my kids were small. Back then my children were quite enthusiastic about helping out and eating up my cake decorating projects. This time I couldn’t be sure they would be around to help eat the cakes. Still, I wanted to make them and pass on the directions.
Special Cakes Made Without Special Pans
Along the way I made a couple of discoveries. Over time I seem to have gotten rid of, or misplaced, most of my specialty shaped baking pans. Rather than replacing the pans, this time I baked the cakes in bowls I have on hand for other uses. That worked out just fine.
The second discovery was more a matter of serendipity. I finished the cakes in the afternoon, shortly before my daughter stopped by to join us for dinner. While we waited for my son to finish his homework my daughter asked several times if we could go ahead and cut the cake. When I promised cake after dinner she relented, stealing only a taste or two of frosting from the edge before we left.
It seems children don’t necessarily outgrow their appreciation for decorated cakes, even when grown up and living on their own.
How to Create a Sweet Ghost Cake
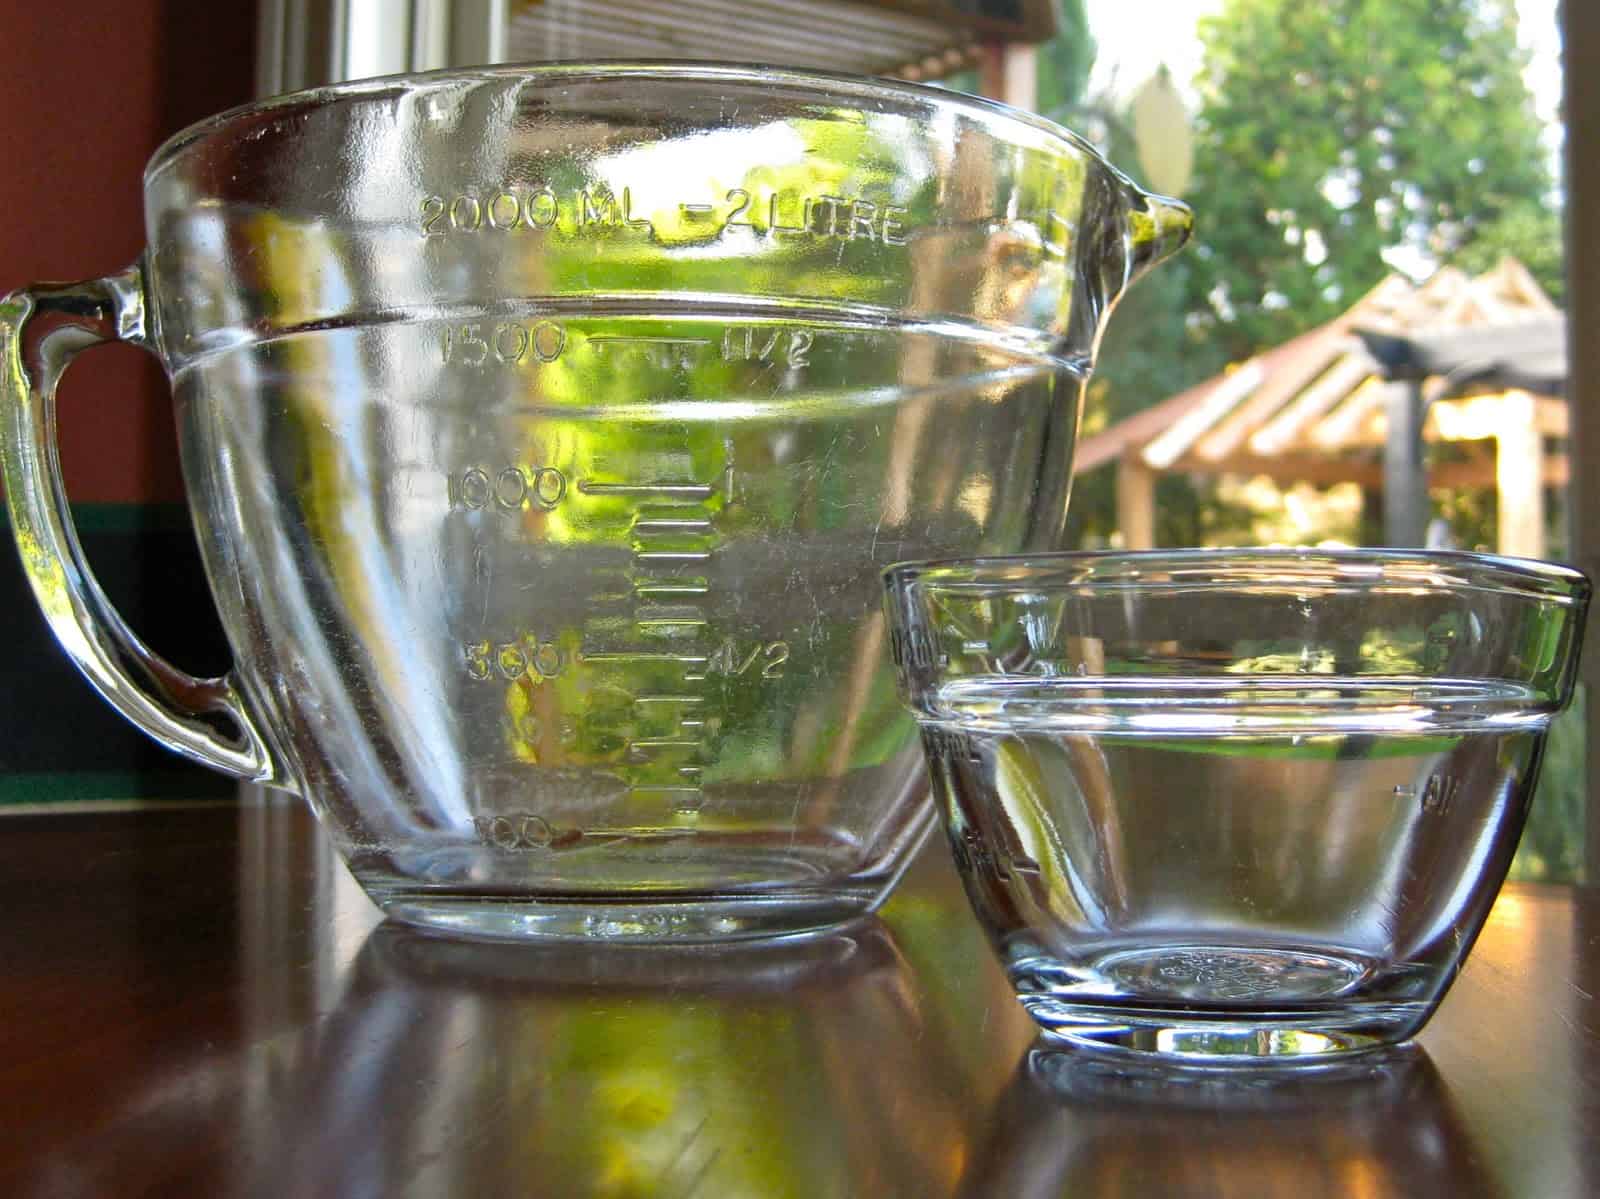
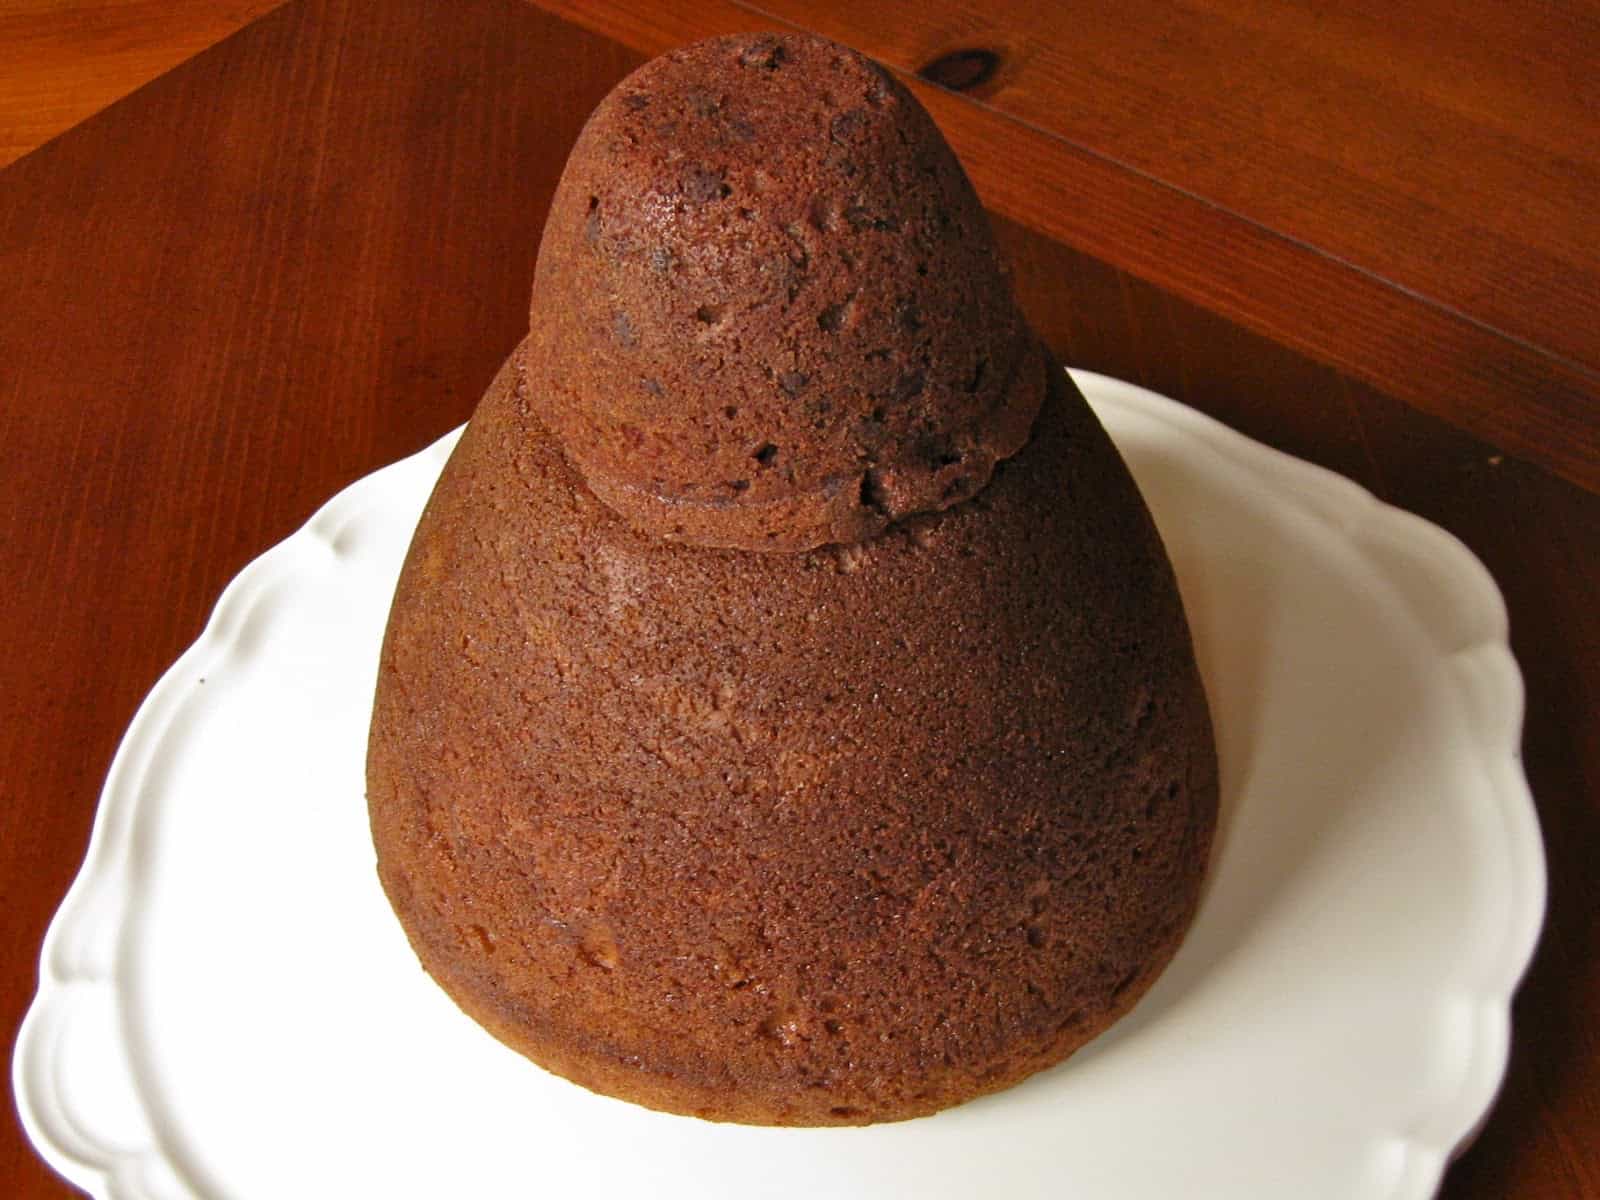
At one time I had a mountain shaped cake pan. I used it to make the cake base for the skirt of a Disney Princess cake, the body of a Raggedy Ann cake and the form of my Sweet Ghost Cake. I now use a glass mixing bowl instead. To make this ghost cake I also baked a smaller dome shaped cake in a glass prep bowl to stack on top.
To bake the base of specialty shaped cakes I often use the recipe for a Basic Box Mix Pound Cake. It relies on a boxed cake mix and a boxed pudding mix along with 4 eggs and a little vegetable oil to create a versatile pound cake. As you might imagine many flavor variations are possible here. For this Sweet Ghost cake I used a spice cake mix and vanilla pudding, adding a teaspoon of cinnamon to the batter for extra punch. I have seen other variations for a very chocolatey cake, a butterscotch cake and a lemon cake. Combine cake mix and pudding flavors to come up with your own favorite variation as you enjoy the durable consistency and good flavor of this practical cake recipe. It works very well when baking cakes in novelty shapes, though other pound cake recipes work well too.
To decorate the cake I use Buttercream Frosting. I first found this recipe in the Wilton yearbooks Aunt Hen and I looked through to inspire our baking. I continue to use that recipe because it is reliable. This frosting is wicked sweet but stays put and is a dream to work with when crafting novelty cakes.
With the basics in place, let’s make something spooky!
My Own Sweet Ghost Cake
12
servings1
hour30
minutes1
hour2
hours30
minutesUse Buttercream Frosting and a Basic Box Mix Pound Cake recipe to make this Sweet Ghost Cake for your Halloween celebration.
Ingredients
- Basic Box Mix Pound Cake
1 package two-layer yellow cake mix (or flavor of your choice)
1 package 4-serving instant vanilla pudding mix (or other complementary flavor)
¾ cup water
¼ cup vegetable oil
4 eggs
- Buttercream Frosting
12 Tablespoons butter (1½ sticks)
12 Tablespoons white vegetable shortening (¾ cup)
1 or 2 teaspoons vanilla (preferably clear vanilla flavoring)
1.5 pounds powdered sugar (6 cups)
2 or 3 Tablespoons milk
1 Tablespoon cocoa powder
- Decoration
2 gum drops
Directions
- Cake
- Preheat oven to 350 degrees.
- Grease and lightly flour (or spray with non-stick cooking spray) a 2-quart glass batter bowl and a 1-cup glass prep bowl or custard cup. Set aside.
- In a large mixer bowl combine the ingredients. Beat on low speed with electric mixer until the batter is formed. Scrape the sides of the bowl with a spatula, then beat for 2 minutes at medium speed.
- Pour ¾ cup batter into the prepared custard cup.
- Pour remaining batter into the prepared batter bowl.
- Bake at 350 degrees checking the smaller cake at 20 minutes. (It is done when a toothpick inserted near the center comes out clean.) Start checking the larger cake at 50 minutes. (It will probably take approximately 60 minutes to complete baking.)
- When done remove cakes to wire rack to cool. After cooling approximately 15 minutes, carefully invert the cakes onto the wire rack and remove the bowls. Allow the cakes to cool completely.
- While cakes are cooling, prepare Buttercream Frosting.
- Buttercream Frosting
- In a large mixing bowl with an electric mixer combine the butter, shortening and vanilla until smooth.
- Gradually add the powdered sugar until fully combined.
- Add the milk, one Tablespoon at a time, until a good spreading consistency is achieved.
- Continue beating until light and fluffy, approximately five minutes.
- Remove ¼ cup of icing to a small bowl. Stir in 1 Tablespoon cocoa powder until smooth. If this icing seems dry add a few drops of milk, one at a time, stirring after each addition until a good piping consistency is achieved.
- Scoop the Chocolate Buttercream into a quart size Ziploc baggie. Seal and set aside.
- Place ½ cup of the White Buttercream in another quart size Ziploc baggie. Seal and set aside.
- Cover remaining White Buttercream with a damp kitchen towel until ready to use.
- Assembly
- When completely cool trim any rounding on the bottom of the larger cake until it will sit evenly on a round serving platter. Position this cake, cut side down, on the platter.
- Frost the very top of the cake with a moderate layer of frosting and position the smaller cake on top, flat side down, again trimming if necessary.
- Frost the sides and top of the cake mound with the White Buttercream icing, being careful not to get crumbs from the cake into the icing. Start at the bottom and ice upward smoothing as you go leaving a sufficient amount of icing around the bottom to flow and puddle in a ghostly way.
- Once the cake is covered with icing, smooth the icing again with a large flat-bladed butter knife or offset decorating knife. To achieve a very smooth look I sometimes use a knife dipped in near boiling water and wiped off with a paper towel to smooth the icing, re-dipping after every pass, working from bottom to top.
- When the icing is smoothed and looks ghostly, take a damp paper towel and wipe any extra icing or smudges from around the bottom of the ghost, scalloping the edge slightly as you go.
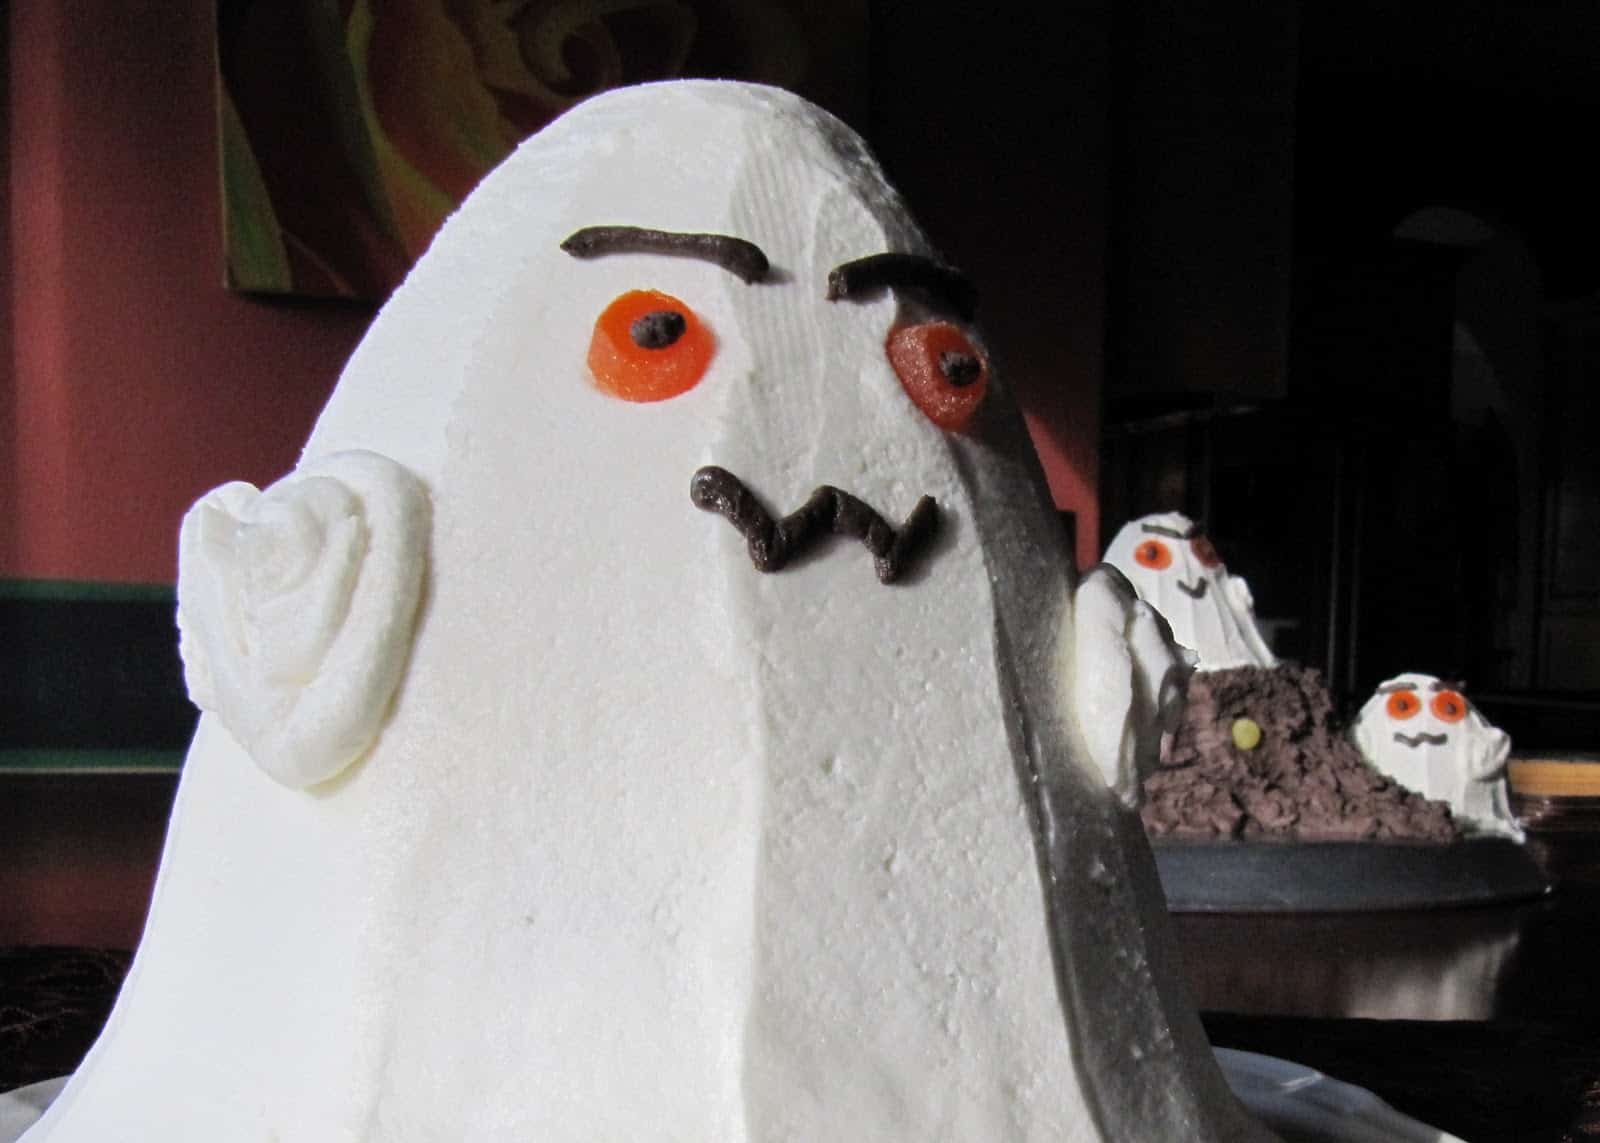
- Take the Ziplock baggie containing White Buttercream and snip ½ – ¾ inch from a lower corner of the bag. Using the baggie as a piping bag, slowly pipe an arm in a semi-spiral shape on either side of the ghost’s torso.
- With kitchen scissors or a sharp knife, snip the bottom ¼ inch from the gumdrops. Position these, sticky side out, on the ghost’s face for eyes.
- Take the Ziplock baggie containing Chocolate Buttercream and snip ¼ inch from a lower corner of that bag. Using the baggie as a piping bag, dot pupils onto the gumdrop eyes, pipe eyebrows and a mouth.
Notes
- Recipe Source: Wilton Yearbooks






this is really clever, lisa–thanks for the idea. your execution is, as expected, quite perfect. 🙂
This is really fun. I love the face!
And I also love how you used the glass cup and bowl for your ghost cakes shapes!
The most adorable cake yet….I love it !
Cutest cake!!! Love it:)
Hahahaha….I love it!
OOOOOOOOOO! He's as cute as Caspar!